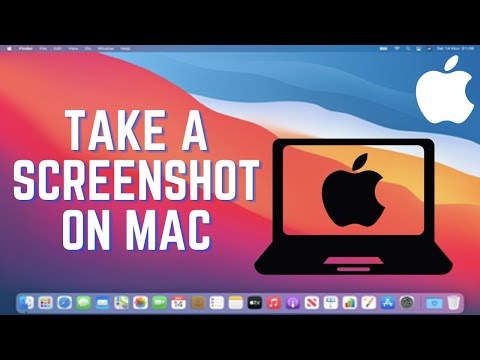
In the fast-paced digital age, knowing how to screen shot on Mac is a crucial skill for both novices and seasoned professionals. If you’re gathering insights for a blog post, preparing for an intense meeting, or even catching those mesmerizing moments while gaming, screenshots can be your best friend. With your Mac at hand, let’s dive into the nuts and bolts of screen capturing that will upgrade your digital communication and save you lots of time.
Mastering How to Screen Shot on Mac: The Basics
Taking a screenshot on your Mac is more accessible than you might think. Let’s break down the various methods so you can start mastering this essential skill today.
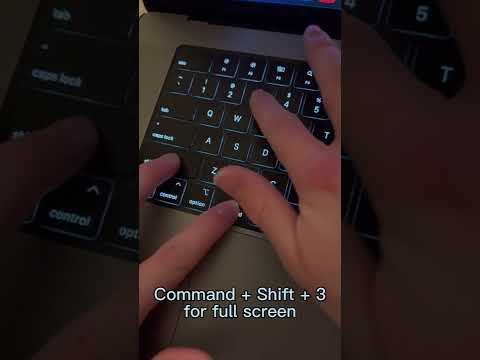
1. The Command-Shift-3 Method: Full Screen Capture
Are you looking to capture everything in a single frame? Simply press Command (⌘) + Shift + 3 and voila! Your entire screen will be snapped and stored directly on your desktop. This straightforward method works wonders for quickly documenting information or capturing those a-ha moments on video calls.
2. Command-Shift-4: Custom Selection Magic
Prefer to focus on a specific section? Hit Command + Shift + 4 and watch as your cursor transforms into a crosshair. Click and drag to define the area you want to capture, like a portion of a document or a perfect section of a webpage. It’s your choice, and this method’s precision lets you zero in on the parts that matter most.
3. Command-Shift-5: Advanced Features with a Screenshot Toolbar
With macOS Mojave and newer versions, you can elevate your screenshot game even further. Press Command + Shift + 5 and a handy toolbar will appear, letting you select between various options—capture the whole screen, a window, or a selected portion. Plus, you can even record your screen! It’s a one-stop solution for all your screenshot needs, and you can save them anywhere you like.
4. How to Screen Shot on Mac Using Preview
For those who want to edit right away, the Preview app provides an excellent alternative. Open Preview and navigate to File > Take Screenshot. Here, you have options that let you shoot the entire screen or a selected area. This integrated method is perfect if you’re looking to polish your images quickly.
5. Beyond the Built-in Tools: Third-Party Apps
Not satisfied with the native tools? Third-party applications like Snagit and Lightshot come loaded with features such as advanced editing, annotation, and cloud sharing. These programs can be especially beneficial for frequent gig economy workers or anyone who needs to enhance productivity.
6. Quick Tips: Annotating and Sharing Screenshots
Once you capture your image, macOS allows for quick edits. Click on the thumbnail that pops up at the corner of your screen, and you can annotate with text, shapes, and arrows. This feature is invaluable for teams working on collaborative projects or simply for sharing precise information, like highlighting key elements in a report on female wrestling.
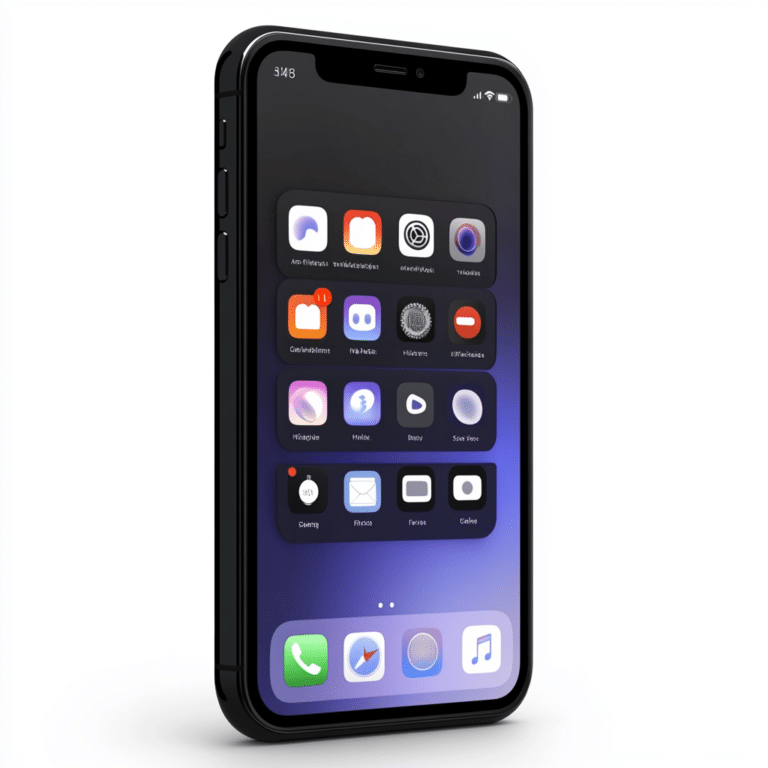
7. How to Take a Screenshot on Chromebook for Comparison
Thinking about switching it up? Knowing how to take a screenshot on Chromebook can be handy. Simply press Ctrl + Show Windows to grab the entire screen or Ctrl + Shift + Show Windows to capture a specific section. A solid understanding of these methods across different platforms can give you a competitive edge.
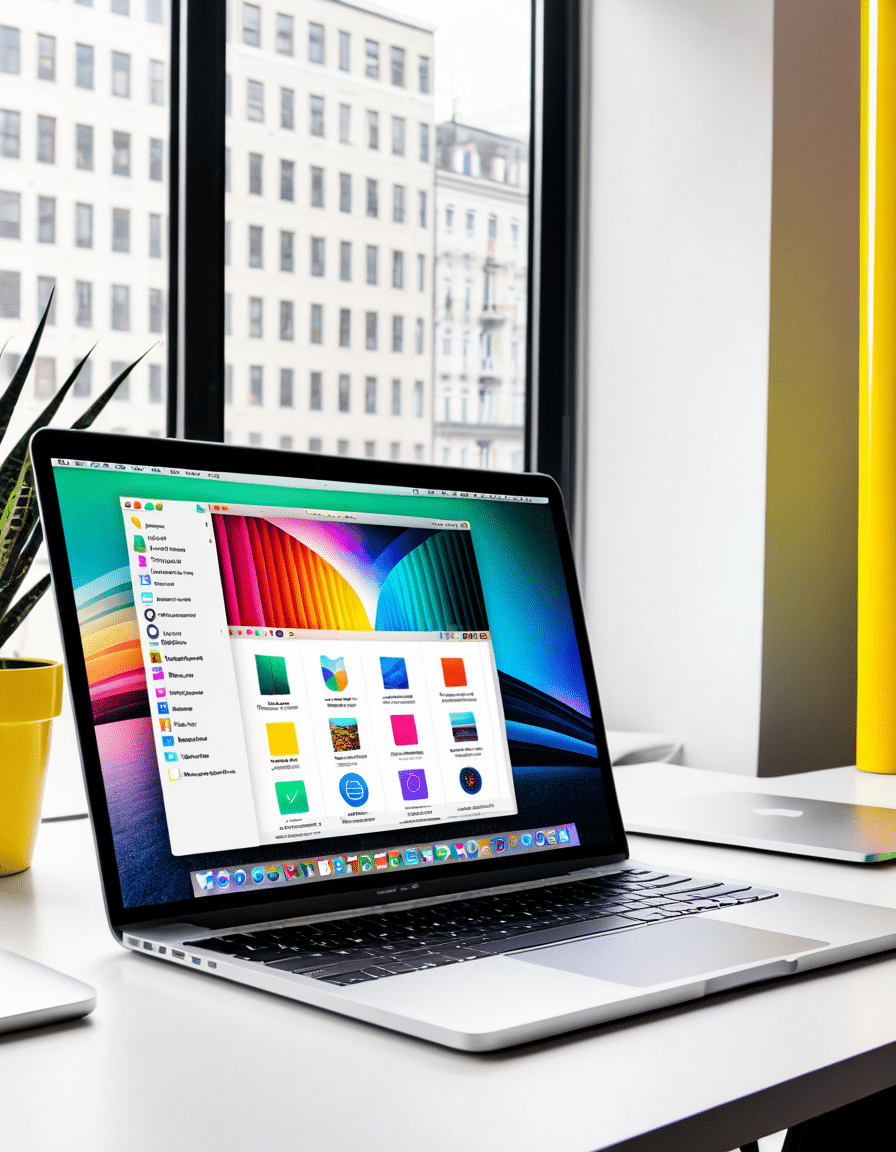
Enhancing Your Workflow: How to Split Screen on Mac
Now that you’ve streamlined your screenshot skills, let’s explore another fantastic feature—how to split screen on Mac. This function lets you multitask like a pro by viewing two applications side-by-side, which can simplify tasks like referencing a document while crafting an email.
To activate split-screen, press and hold the green full-screen button in the top-left corner of your window. The screen divides down the middle, allowing you to drag your application to one side. Open your second app, and it will fill the other half. This method is a game changer, especially when you need to juggle tasks efficiently.
Navigating Mac: The Art of Right-Clicking
Understanding how to right-click on a Mac also enhances your overall experience. The default setting allows you to perform a right-click with a two-finger tap on the trackpad or by holding down the Control key while you click. This handy feature opens up additional options and settings, streamlining tasks in your daily digital dealings.

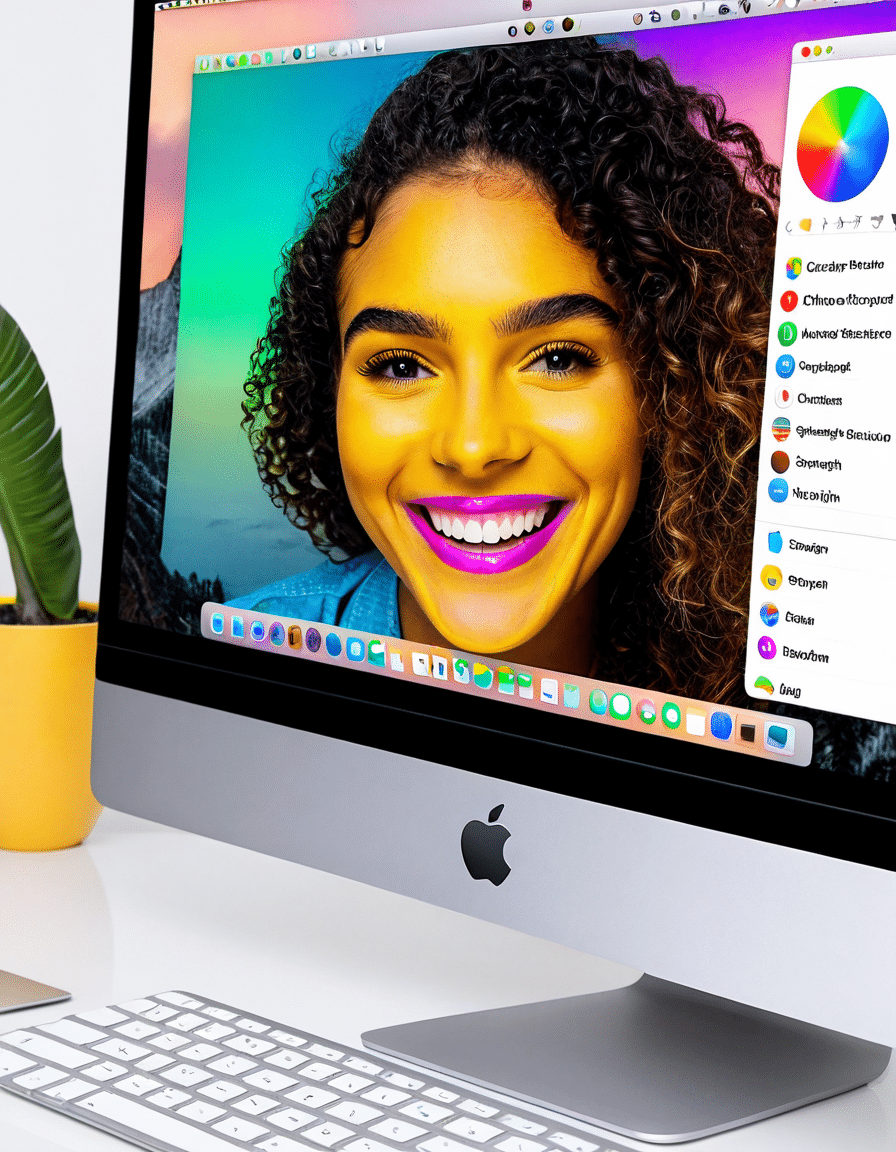
Embracing Innovative Screenshots: Advanced Tips
Taking screenshots is just the beginning. To make your work shine, consider using screenshots creatively. Use them in presentations to illustrate concepts, in tutorials for clearer guidance, or on social media to engage followers.
Plus, tools like Markup enable you to annotate your screenshots. This helps clarify points without overwhelming your audience—think of it as an eye-catching benefit your readers can appreciate.
Wrapping Up: Perfecting Your Screenshot Skills
By mastering the ins and outs of how to screen shot on Mac, you’re equipping yourself with a toolkit that fuels both productivity and creativity. With the ability to customize your captures, explore third-party applications, and implement advanced workflow methods, you will make your Mac experience smoother and enjoyably more efficient. As we glide through 2024, these skills will keep you ahead of the curve, whether you’re analyzing data, collaborating with team members on a project about Lovers And Friends, or even sharing those captivating clips from a rock paper scissors video on Twitter.
Silence the doubts and dive in. Your new screenshot prowess awaits!
How to Screen Shot on Mac Like a Pro Today
How to Capture Screenshots Like a Whiz
Alright, folks! If you’re looking to master how to screen shot on Mac, you’ve clicked on the right article. Mac has some nifty features to help you grab those important visuals. Pressing Command + Shift + 3? Boom, you get the whole screen! Want just a section? Hit Command + Shift + 4 and drag to your heart’s content. And, just for fun, did you know the game of rock-paper-scissors has had its share of viral moments? Check out that hilarious rock paper scissors video on Twitter that made everyone chuckle during a dull conference call!
Fun Mac Facts While You Snap Away
Beyond just the usual screen capturing, each screenshot you take is automatically saved to your desktop, making it easier than ever to find what you need. Speaking of finding stuff, if you’re ever overwhelmed by subscriptions, it might be worth your while to learn how to cancel Amazon prime so you can focus on snappin’ pics instead! Now, if you’re a fan of customization, remember that Apple allows you to set your screenshot location and format — talk about giving you that bespoke touch! And for those curious, did you know that the mythical creature, lamia, has roots in ancient tales? It’s fascinating how these stories intrigue us just as much as our tech!
Level Up Your Screenshot Game
Want more tips? Here’s a neat trick: when using Command + Shift + 5, this nifty tool gives you a little menu with even more options — you can record your screen too! It’s like having your cake and eating it too! By the way, if you love popping over to try out new recipes, you might want to check out the dish What The Pho, which is as fun to say as it is to eat! And just like those comforting meals, let’s not forget about the inspirational tales of people like Yuridia, whose journeys remind us of the passion that fuels creativity everywhere, even in something as simple as taking a screenshot on your Mac.
In short, learning how to screen shot on Mac is all about enjoying the process while keeping your digital life organized. So go ahead, capture those hilarious moments, important information, and keep your memories close—like Jeff Bezos’ wife once said, “It’s the moments we share that matter most.” Happy capturing!
What is the shortcut key for screenshot in Mac?
To take a screenshot on a Mac, you can use the shortcut Command (⌘) + Shift + 3 for a full screen capture or Command (⌘) + Shift + 4 for a selected area. If you’re using the latter, you can drag to choose the specific part of the screen you want.
How do you cut and snip on a Mac?
You can cut and snip on a Mac by using the Command (⌘) + Shift + 4 shortcut. This allows you to select a portion of your screen to capture, and the image will be saved automatically to your desktop.
How do you do a screen shot?
Taking a screenshot on a Mac is simple. Just press Command (⌘) + Shift + 3 to capture the whole screen or Command (⌘) + Shift + 4 to select an area. The screenshot will typically save to your desktop.
What is the best tool to take a screenshot on a Mac?
The best tool for taking screenshots on a Mac would be the built-in screenshot features. They allow for flexibility, letting you capture the whole screen, a specific window, or a selected area without needing extra software.
What are the 3 ways to screenshot on Mac?
There are three main ways to screenshot on a Mac: pressing Command (⌘) + Shift + 3 for a full screen, Command (⌘) + Shift + 4 for a selected area, and Command (⌘) + Shift + 5 for more options, including screen recording.
How do you take a screenshot on a Mac in settings?
To screenshot on a Mac using settings, go to System Preferences, click on Keyboard, then the Shortcuts tab, where you can adjust or find screenshot settings and shortcuts.
How to screenshot on Mac with regular keyboard?
If you’re using a regular keyboard, just use the same shortcuts: Command (⌘) + Shift + 3 captures the entire screen, while Command (⌘) + Shift + 4 lets you select a portion.
What is the shortcut for screenshot?
The shortcut for screenshotting remains the same: it’s Command (⌘) + Shift + 3 or Command (⌘) + Shift + 4, depending on what you need to capture.
What is the Mac equivalent of snip?
The Mac equivalent of snipping is using Command (⌘) + Shift + 4, which lets you select an area of the screen to screenshot, similar to snipping tools on other systems.
What is key for screen shot?
To take a desktop screenshot, simply press Command (⌘) + Shift + 3, and it’ll save an image of your entire desktop to your desktop.
How to desktop screenshot?
To find your screenshots, head to your desktop where they’re typically saved as PNG files. You can also adjust the save location in the screenshot settings.
How do I go to Screenshots?
To screenshot on a Mac, just use the keyboard shortcuts: Command (⌘) + Shift + 3 for the whole screen or Command (⌘) + Shift + 4 for part of the screen you want to capture.
Do I take a screenshot on my Mac?
If your Mac won’t take a screenshot, make sure you’re using the right shortcuts. Sometimes permissions or settings can be off, so checking System Preferences might help too.
Why wont my Mac take a screenshot?
Yes, you can snip on a Mac using the same method as taking a screenshot. Just use Command (⌘) + Shift + 4 to capture a selected area.
Can you snip on a Mac?
Just remember, the shortcut key for taking screenshots is Command (⌘) + Shift + 3 for the whole screen and Command (⌘) + Shift + 4 for a specific area.
What is the shortcut key for screenshot?
Using a regular keyboard doesn’t change how you screenshot on a Mac; you still use Command (⌘) + Shift + 3 for the whole screen or Command (⌘) + Shift + 4 for a selected area.
How to screenshot on Mac with regular keyboard?
On a MacBook Pro, simply hit Command (⌘) + Shift + 3 or Command (⌘) + Shift + 4 to take your screenshots just like on any other Mac.
How to screenshot in MacBook Pro?
To copy a screenshot on your Mac, just take a screenshot using Command (⌘) + Control (⌃) + Shift + 4 to capture a portion of the screen. This copies it to the clipboard, and you can paste it anywhere you like.